Finding the perfect Gluten Free Vanilla Cupcakes is a bit like searching for a needle in a haystack, especially when you’re gluten free. Most store bought options are either packed with preservatives or have the texture of a dry sponge. Whether you are planning for birthdays, celebratory parties, or just a simple weekend sweet treat, you deserve Gluten Free Vanilla Cupcakes that actually tastes like a celebration.
The best part? This recipe is designed for everyone, including an easy dairy free option that doesn’t sacrifice that classic buttery flavor.
I’ll never forget the first birthday I spent gluten free. I tried a “highly rated” recipe that required five different types of expensive specialty flours, and the result was so dense I think I could have used it as a paperweight. I felt so defeated! It took a lot of trial and error in my kitchen to realize that you don’t need a chemistry degree to bake well. This recipe was my true breakthrough, it’s the one that finally made my non-GF friends ask, “Wait, are you sure this is gluten free?

Why This Will Be Your New Go-To Recipe
If you’ve ever bitten into a Gluten Free Vanilla Cupcakes that turned out crumbly, dry, or weirdly dense, you know that specific kind of disappointment. It’s frustrating to waste expensive ingredients on a “meh” result.
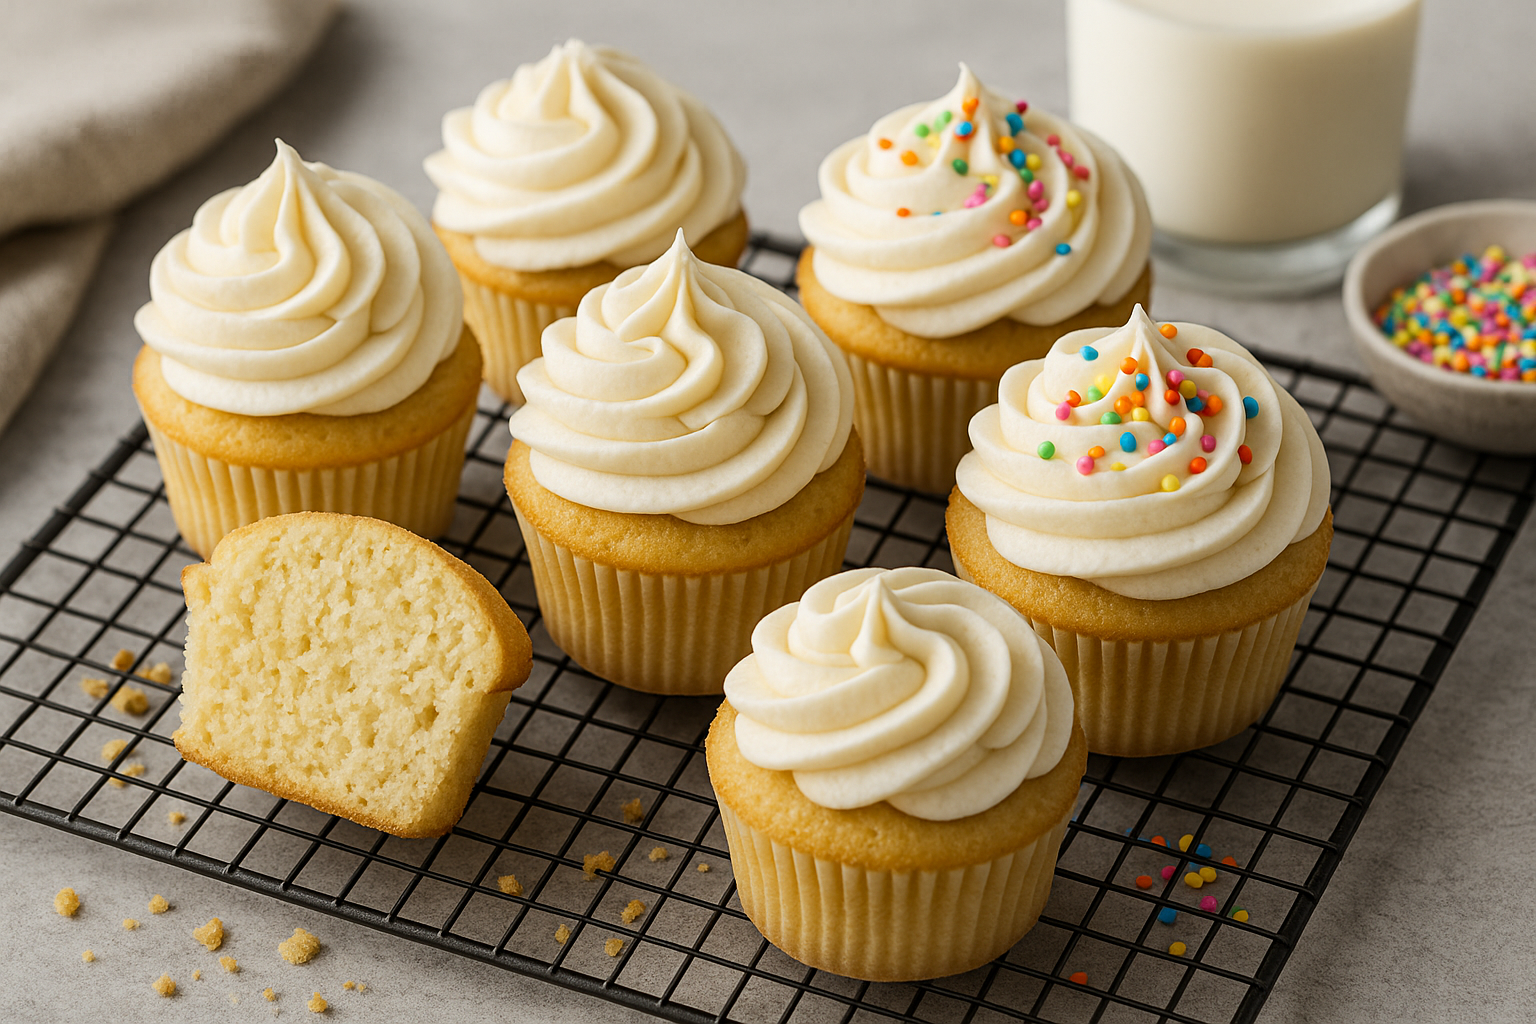
The good news? These gluten free vanilla cupcakes are the exact opposite of those “cardboard” treats. They are:
- Incredibly Moist: No “sandy” texture here—just pure, soft cake.
- Light & Airy: They have that classic bakery “bounce” and crumb.
- Deceptively Simple: You only need one simple 1-to-1 flour blend, not a dozen specialty flours that will just sit in your pantry.
Whether you’re baking to satisfy a late-night sweet tooth or prepping for a big crowd, this recipe is designed to be your reliable, “never-fails” secret weapon.
Why You’ll Love These Gluten Free Vanilla Cupcakes
When you’re living a gluten free lifestyle, you learn pretty quickly that not all recipes are created equal. I’ve spent years testing different methods, and I can confidently say this recipe hits that “sweet spot” of being both effortless and high quality. Here is why this is about to become your favorite bake:
- Moist & Fluffy Texture: Forget the dry, “sand-like” texture you find in many gluten free baked goods. These cupcakes have a delicate, bakery style crumb that stays soft for days.
- Seamless Dairy Free Swap: I know many of us avoid more than just gluten. Whether you prefer almond, oat, or soy milk, this recipe is incredibly forgiving and works perfectly with any dairy-free alternative.
- Simple, Pantry-Staple Ingredients: You won’t need to hunt down obscure ingredients or spend a fortune. Just one reliable 1:1 gluten-free flour blend and a few basics you likely already have in your kitchen.
- Perfect for Every Occasion: These are elegant enough for a formal birthday party but simple enough for a school bake sale or a cozy Sunday afternoon treat.
Ingredients You’ll Need For the perfect Gluten Free Vanilla Cupcakes
For the Cupcakes
- ½ cup (4 oz.) vegetable oil (or oil of choice)
- ¾ cup (160 g) granulated sugar
- 2 large eggs, room temperature
- 1 ¼ cups (180 g) gluten free all purpose flour blend (I used Bob’s Red Mill 1 to 1 Baking Flour)
- ¼ teaspoon salt
- 1 ¾ teaspoons baking powder
- ½ cup (4 oz.) dairy free milk (or regular milk)
- 2 teaspoons gluten free vanilla extract (or vanilla bean paste)
For the Frosting
- ½ cup (4 oz.) dairy free butter (or regular butter), room temperature
- 1 teaspoon gluten free vanilla extract
- 3 cups (360 g) powdered sugar
- 2 tablespoons dairy free milk (or regular milk)

How to Make Perfect Gluten Free Vanilla Cupcakes (Step-by-Step)
Now, let’s get into the heart of the process. Baking gluten free doesn’t have to be complicated, but the order in which you mix your ingredients can make or break that fluffy texture we’re after. Follow these steps for foolproof results every time.
1. Prepare the Gluten free vanilla cupcakes Batter
Before you start mixing, preheat your oven to 350°F (175°C) and line a 12-cup muffin tin with your favorite liners.
- Cream the Base: In a large mixing bowl, whisk together the oil and sugar until the mixture is smooth and well-combined.
- Emulsify the Eggs: Add the eggs one at a time. This is a crucial step! Mixing well after each addition ensures the batter stays stable. Stir in that fragrant vanilla extract.
- The Dry Mix: In a separate medium bowl, whisk together your gluten-free flour, salt, and baking powder. This ensures there are no clumps of baking powder in your final bite.
- The “Slow & Steady” Mix: Gradually add the dry mixture to the wet mixture, alternating with the milk (or dairy-free milk).
Pro Tip & Personal Experience: My biggest mistake early on was overmixing the batter once the flour was in. I used to think more mixing meant a smoother cake, but with gluten-free flour, it can actually make the cupcakes sink! Mix until just combined, once the white streaks of flour disappear, stop.
2. Bake to Golden Perfection
- The Fill: Divide the batter evenly into your lined cups. Aim to fill them about ⅔ full. If you overfill them, they’ll spill over the edges and lose that cute dome shape.
- The Oven: Bake for 18–20 minutes.
- The Test: Use the classic toothpick trick—insert it into the center, and if it comes out clean or with just a few dry crumbs, they’re done!
- Cooling Down: Let them rest in the pan for 5 minutes (this helps them set), then transfer to a wire rack. Wait until they are 100% cool before frosting, or you’ll end up with a melted buttery mess!
3. Whip Up the Silky Vanilla Frosting
While your cupcakes cool, it’s time to make the crown jewel: the buttercream.
- Cream the Butter: In a bowl, beat your softened butter (or dairy-free butter) until it’s pale and creamy.
- The Sugar Snowfall: Add the powdered sugar one cup at a time. Start your mixer on low unless you want a kitchen covered in white dust! Once incorporated, beat on high until it’s fluffy.
- The Final Touch: Add the vanilla and milk, then give it one last high-speed whip until it’s light and smooth.
My Personal Frosting Hack: Whenever I’m making these for a party, I add a tiny pinch of salt to the frosting. It cuts through the sweetness of the powdered sugar and makes the vanilla flavor pop!
Customizing Your gluten free vanilla cupcakes : Variations & Dairy Free Success
The beauty of this recipe is how adaptable it is. Whether you have multiple allergies to navigate or you just want to get creative with flavors, this base recipe is your blank canvas.
Perfecting the Dairy Free Option For Gluten Free Vanilla Cupcakes
Many of my readers (and myself!) often find that gluten-free and dairy-free go hand-in-hand. Luckily, this recipe was designed to be “swap-friendly” without losing that signature moisture.
- The Milk Swap: You can use almond, oat, or soy milk at a 1:1 ratio.
- The Butter Swap: For the frosting, use a high-quality dairy-free butter stick (the kind meant for baking).
- The Result: Because we use oil in the cupcake base rather than butter, the cake’s texture remains incredibly soft and light even when made completely dairy-free.
I remember the first time I made these for a friend who was both GF and Vegan-leaning. I was so nervous the oat milk would make them “gummy,” but to my surprise, they actually turned out even moister than the dairy version! Since then, oat milk has become my “secret weapon” for the fluffiest dairy-free crumb.
Fun Flavor Boosts
If you want to take these beyond classic vanilla, try these simple stir-ins:
- Lemon Zest: Add the zest of one lemon to the sugar before mixing for a bright, citrusy “Sunshine Cupcake.”
- Chocolate Chip: Fold in 1/2 cup of mini chocolate chips (make sure they are GF/DF!) into the batter at the very end.
- Berry Burst: Gently fold in a few fresh blueberries or a dollop of raspberry jam in the center before baking.
Mix & Match Frosting
Don’t feel like you have to stick to vanilla! You can easily swap the frosting to match your mood:
- Chocolate Buttercream: Add 1/4 cup of high-quality cocoa powder to the frosting recipe.
- Cream Cheese Frosting: Use a block of cream cheese (or dairy-free cream cheese) in place of half the butter for a tangy, rich finish.
- Color It Up: Since the frosting is a beautiful pale white, it takes food coloring perfectly. I love using natural beet powder for a soft pink or matcha for a vibrant green.
Try more gluten free Baking recipes :
Easy Gluten Free Corn Muffins (Moist, Fluffy & Naturally Sweet)
Gluten Free Chocolate Banana Bread (Moist, Easy & Chocolatey)
10 Minute Prep: The Best Moist Gluten Free Lemon Cake (Starbucks Copycat)
Gluten Free Blueberry Muffins (Soft, Fluffy & Bakery Style!)
FAQs : Gluten Free Vanilla Cupcakes
Can I make these without xanthan gum?
If your flour blend already includes xanthan gum, you don’t need to add extra. If it doesn’t, add ½ teaspoon for structure.
How do I store gluten free vanilla cupcakes?
Keep frosted cupcakes in an airtight container at room temperature for up to 2 days, or refrigerate for 4–5 days.
Can I freeze them?
Yes! Freeze unfrosted Gluten Free Vanilla Cupcakes in a freezer bag for up to 2 months. Thaw at room temperature, then frost.
Important Recipe Notes for Success
To ensure your gluten free vanilla cupcakes turn out bakery quality every single time, keep these essential tips in mind. Gluten free baking is a bit more of a science than traditional baking, and these small details make a massive difference.
The Golden Rule: Choose the Right Flour
The most important factor in this recipe is your flour choice. Use a high-quality, gluten-free all-purpose flour blend that contains xanthan gum. Xanthan gum acts as the “glue” that gluten usually provides. Without it, your cupcakes will likely crumble into a mess the moment you peel back the liner. If your favorite blend doesn’t include it, you’ll need to add about 1/2 teaspoon of xanthan gum to your dry ingredients manually.
When I first started out, I thought all “gluten free flours” were created equal. I once bought a bag of straight rice flour thinking it would work the same—I ended up with a tray of what looked like vanilla-flavored soup! Now, I always look for a “1-to-1” or “Measure for Measure” label. It saves so much stress and ensures that the texture stays soft and bouncy rather than gritty.
Pro Tips for the Best Texture
- Room Temperature Ingredients: Make sure your eggs and milk aren’t freezing cold from the fridge. Room temperature ingredients emulsify better, which leads to a more uniform, fluffy crumb.
- The “Resting” Trick: If you find your gluten-free bakes are sometimes a bit “sandy,” let the batter sit in the muffin tin for 10–15 minutes before putting them in the oven. This allows the flour to fully hydrate.
- Measure by Weight: If you have a kitchen scale, I highly recommend weighing your flour. Gluten-free flour is very easy to over-pack into a measuring cup, which can lead to a dense cupcake.
Final Bite
These gluten free vanilla cupcakes are everything you want in a dessert: fluffy, moist, and packed with vanilla flavor. Whether you keep them classic or add fun variations, they’re guaranteed to be a hit.
Did you try this recipe? Share your gluten free vanilla cupcakes and tag us on instagram and tiktok — we’d love to see your creations!