Few desserts carry as much nostalgia as apple pie, the smell of cinnamon, bubbling apples, and a golden crust that cracks gently under the fork. My grandma used to make it every autumn, filling the house with that sweet, cozy aroma you never forget.
When I went gluten free, I thought I’d lost that feeling forever. But this recipe brought it back.
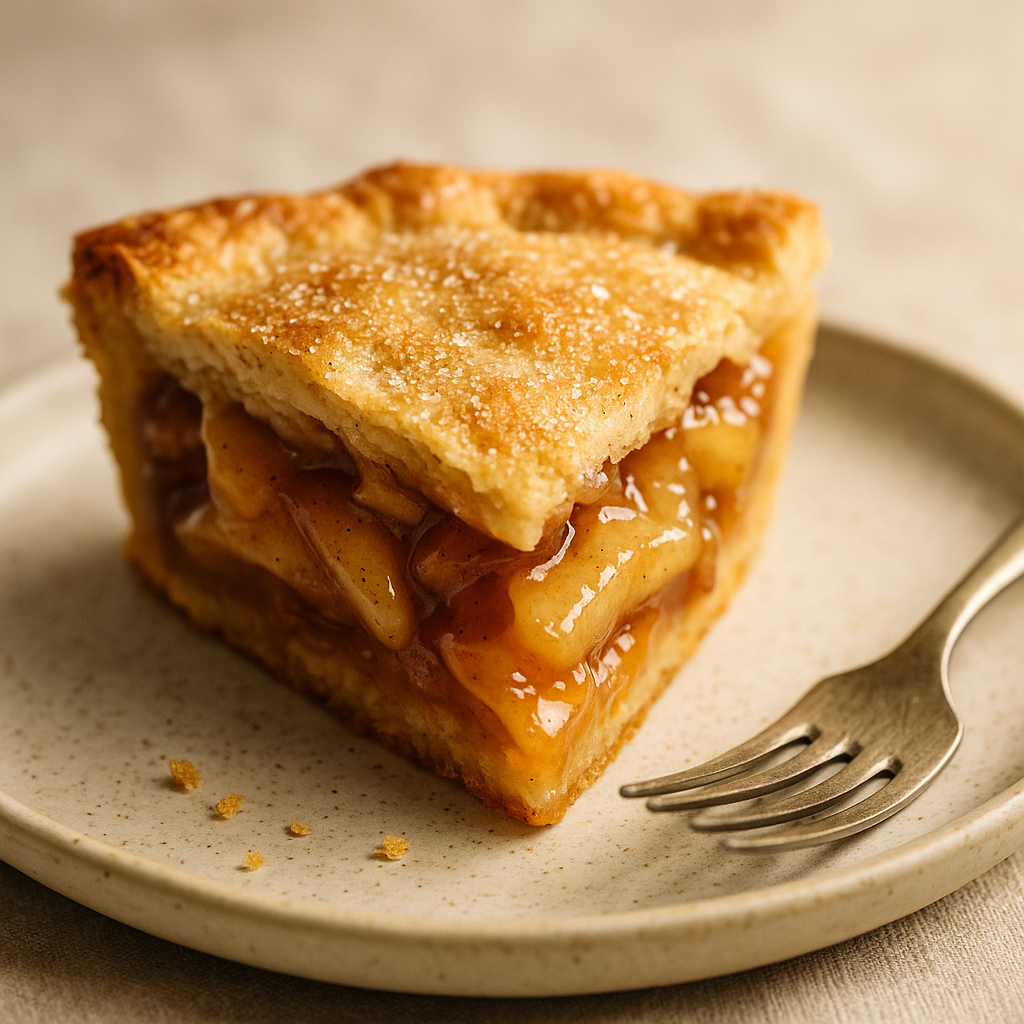
This gluten free apple pie tastes exactly like the one my grandma made, buttery, flaky, and filled with tender cinnamon apples that melt in your mouth. It’s a slice of pure, homemade happiness that everyone can enjoy, gluten free or not.
")
Why You’ll Love This Gluten Free Apple Pie
- Truly flaky, buttery crust: Soft layers that shatter lightly when cut, no crumbling or grainy texture.
- Perfect apple texture: Tender but never mushy, with balanced sweetness and a gentle tart note.
- Reliable results: Easy to follow method designed for both beginners and seasoned bakers.
- Naturally gluten-free: Made with simple, wholesome ingredients and adaptable for dairy free or vegan needs.
- Holiday perfect: Impress guests or treat yourself with a timeless dessert that looks and tastes bakery quality.
Key Ingredients & The Science Behind Them
Gluten Free 1:1 Flour (340g)
Choose a quality blend with xanthan gum like Bob’s Red Mill Gluten Free 1:1 Baking Flour or King Arthur Measure for Measure Flour. These mimic wheat flour’s elasticity, so your crust rolls smoothly and bakes up crisp at the edges yet tender inside.
Salted Butter (2 sticks / 16 tbsp)
Cold butter is essential for flakiness. Each piece of butter melts in the oven to create delicate air pockets, the hallmark of a perfect pie crust. (For dairy free, use a high-fat vegan butter stick like Miyoko’s.)
Sour Cream & White Vinegar
This combination gives the crust richness and tenderness. The sour cream’s fat adds moisture without heaviness, while vinegar relaxes the dough’s structure, preventing toughness, a pro baker’s secret.
Apples (4 pounds, about 6–7 large)
A mix of Granny Smith (tart, firm) and Honeycrisp (sweet, juicy) ensures perfect flavor balance and a luscious filling that holds shape.
Warm Spices
Ground cinnamon, nutmeg, and allspice create that cozy, nostalgic aroma. Fresh lemon zest and juice brighten the flavor, keeping it fresh and lively.
")
Step by Step Instructions (with Detailed Pro Tips)
Step 1: Make the Crust
- Freeze the butter: Cut butter into ¼-inch cubes and freeze for 10–15 minutes. Cold butter = flaky layers. Tip: If your kitchen is warm, keep all ingredients (flour, mixing bowl, even utensils) cold for best results.
- Mix the wet ingredients: In a small bowl, whisk together ice water, sour cream, and vinegar until smooth. This mixture adds structure and tenderness.
- Combine dry ingredients: Add gluten-free flour, sugar, and salt to a food processor. Pulse once or twice to distribute evenly.
- Cut in the butter: Scatter frozen butter pieces over the flour mixture. Pulse 8–10 times until the butter pieces are roughly the size of large peas. Visual cue: You should still see small chunks of butter, this is what creates flakiness when baked.
- Add wet mixture: Pour in the sour cream blend and pulse 6–8 more times, just until the dough begins to clump. If using hands: Use a pastry blender or your fingertips to gently mix. Stop as soon as it holds together, overmixing makes the crust tough.
- Form and chill: Turn dough onto a clean surface, divide into two equal balls, and flatten into discs. Wrap tightly in plastic and refrigerate at least 1 hour (up to 2 days). Tip: You can freeze dough for up to 3 months, thaw in the fridge overnight before using.
Step 2: Prepare the Filling
- Prep apples: Peel, core, and slice apples into even ¼-inch slices. Uniform thickness ensures even cooking.
- Cook the base: In a large skillet or Dutch oven, melt butter over medium heat. Add apples, both sugars, cinnamon, nutmeg, allspice, salt, lemon zest, and lemon juice. Stir gently.
- Simmer until tender: Cook 8–10 minutes, stirring occasionally, until apples soften but still hold their shape. Tip: If apples release a lot of liquid, don’t worry, that’s flavor. You’ll thicken it next.
- Thicken the filling: In a small cup, whisk cornstarch and water. Pour into the apple mixture, stirring constantly for 2–3 minutes until glossy and thickened.
- Cool completely: Transfer filling to a bowl and let it cool to room temperature. Speed trick: Spread the filling on a baking sheet and refrigerate for 15 minutes. Why cool? Warm filling melts butter in your crust before baking, ruining its texture.
Step 3: Roll Out the Crust
- Bring dough to workable temperature: Remove one dough disc from the fridge and let it rest 10–15 minutes at room temperature. Gluten-free dough softens slower, so don’t rush.
- Roll gently between plastic wrap: Place the dough between two large sheets of plastic wrap or parchment paper. Roll evenly to ¼-inch thickness. Tip: If cracks form, press them back together, gluten free dough is forgiving when handled gently.
- Fit the bottom crust: Peel off the top plastic layer, then flip the dough into a 9-inch metal pie plate. Ease the dough into corners gently without stretching it.
- Chill while rolling top crust: Keep the bottom crust refrigerated while repeating the rolling process for the top crust.
Step 4: Assemble the Pie
- Add the filling: Spoon the cooled apple mixture into the chilled bottom crust, spreading evenly. Don’t overfill, keep apples slightly mounded in the center.
- Add the top crust: Carefully place the second crust over the filling. Trim any overhang to about ½ inch. Press edges together with fingers or a fork to seal.
- Cut slits: Use a sharp knife to create 4–5 small slits in the top crust for steam to escape. You can also make decorative vents using small cookie cutters.
- Final chill: Place the assembled pie in the freezer for 10 minutes before baking. Cold dough helps prevent shrinkage and keeps layers defined.
Step 5: Bake the Pie
- Preheat the oven: Place a baking sheet on the middle rack and preheat to 400°F (200°C). Preheating the sheet helps crisp the bottom crust.
- Prepare the egg wash: In a small bowl, whisk the egg with milk (or dairy-free milk). Brush evenly over the top crust. Sprinkle sugar for a light sparkle if desired.
- Bake hot, then slow: Place the pie on the preheated sheet and bake for 35 minutes. Then, loosely cover the top with foil or use a pie shield to prevent over-browning. Lower temperature to 375°F (190°C) and bake another 35–40 minutes.
- Check doneness: The filling should be bubbling through the vents, and the crust golden brown all over, that’s your cue it’s ready.
- Cool completely: Let the pie rest on a wire rack for at least 3 hours before slicing. Patience pays off! Cooling allows the filling to set, giving you neat, beautiful slices.
")
Chef’s Tips for Perfect Results
- Cold is everything: Keep dough, butter, and tools chilled whenever possible.
- Metal beats glass: Metal pie pans conduct heat better for crisp bottoms.
- Avoid soggy crusts: Preheat your baking sheet and use slightly thicker bottom dough.
- Don’t skip resting time: Cooling sets the filling and enhances flavor.
Recipe Variations
- Dairy Free: Replace butter with vegan butter sticks and use dairy free sour cream.
- Vegan: Brush crust with coconut milk or maple syrup instead of egg wash.
- Mini Pies: Use muffin tins, fill ¾ full, and bake 25–30 minutes.
Storage & Make Ahead Tips
- Store leftovers in the fridge for up to 3 days in an airtight container.
- Reheat slices at 350°F (180°C) for 10–12 minutes until warm and crisp.
- To freeze: Bake, cool completely, wrap tightly in foil and plastic, and freeze up to 2 months. Reheat directly from frozen at 325°F (160°C) for 25 minutes.
Frequently Asked Questions
Can I make the crust ahead of time?
Yes! Prepare the dough and refrigerate up to 2 days or freeze up to 3 months.
What are the best apples for gluten free apple pie?
A mix of firm-tart (Granny Smith) and sweet (Honeycrisp or Braeburn) gives perfect balance.
My crust cracked, what did I do wrong?
It may be too dry or rolled too cold. Add a teaspoon of ice water to soften and roll again between plastic sheets.
Can I reduce the sugar?
Yes, reduce by up to 25% without affecting texture. For refined sugar free, use coconut sugar instead.
See more Gluten Free Dessert Recipes :
Gluten Free Pumpkin Snickerdoodles | Easy (10 Min Prep)
Gluten Free Angel Food Cake | 3 Secrets to Perfect Fluff
Gluten Free Sugar Cookies | 3 Secrets for Soft Bliss
Gluten Free Peanut Butter Cookies in 20 Min | Soft & Chewy
Recipe Special Notes
- Keep it cold: The secret to a truly flaky gluten free pie crust is temperature control. Chill your butter, flour, and even your mixing bowl before you start.
- Use a metal pie pan: Metal conducts heat more evenly than glass or ceramic, helping the bottom crust crisp up beautifully, no soggy bottoms here.
- Mind the moisture: Gluten free flours absorb liquid differently. If your dough feels dry or cracks easily, add 1 teaspoon of ice water at a time until smooth.
- Rest the dough: Refrigerating the dough helps hydrate the flour and solidify the butter, both crucial for that tender, layered texture.
- Cool completely before slicing: It’s tempting to dig in early, but the filling needs at least 3 hours to set properly for neat, picture perfect slices.
- Apple blend tip: A 50/50 mix of tart apples (Granny Smith) and sweet ones (Honeycrisp or Braeburn) gives the best texture and flavor contrast.
- Freezing tip: You can assemble the entire pie and freeze it unbaked for up to 2 months. Bake straight from frozen, adding 10–15 minutes to the baking time.
- Allergy friendly swaps: This recipe is naturally gluten-free and can easily be made dairy-free or vegan with simple substitutions like plant butter and coconut milk.
Conclusion
There’s something timeless about a slice of homemade apple pie, and with this gluten free apple pie recipe, you never have to miss out again. The buttery, flaky crust and spiced apple filling prove that gluten-free baking can be just as indulgent, comforting, and beautiful as the original.
Whether it’s the centerpiece of your holiday table or a weekend baking project, this pie delivers that golden, cinnamon-scented satisfaction every time. Serve it warm with a scoop of dairy free vanilla ice cream or a dollop of whipped coconut cream, and enjoy the feeling of pure comfort in every bite.
At Gf Snack, we believe gluten-free food should be joyful, simple to make, lovely to look at, and absolutely delicious to share.