If you’ve ever bought gluten free bread crumbs from the store, you already know: they’re expensive, sometimes bland, and rarely crispy. This simple homemade version fixes all of that, and once you taste them, you’ll wonder why you didn’t make them sooner.
These gluten free bread crumbs bake up golden, crunchy, and perfectly versatile for everything from crispy chicken to topping casseroles. And the best part? You only need leftover gluten-free bread and a few pantry basics.
")
Why You’ll Love This Recipe
- Truly crispy, just like classic breadcrumbs
- Only 3 ingredients
- Use any gluten free bread you already have
- Budget friendly
- Perfect for frying, topping pasta bakes, or adding texture to meatballs
Key Ingredients (and Why They Work)
Gluten Free Bread
Any gluten free loaf works, soft sandwich bread, rustic loaves, stale slices, even the end pieces no one wants. The better the bread flavor, the better the crumbs.
Olive Oil
A tiny drizzle helps the crumbs toast evenly and turn beautifully golden.
Kosher Salt
Just enough to enhance flavor without overpowering your dish.
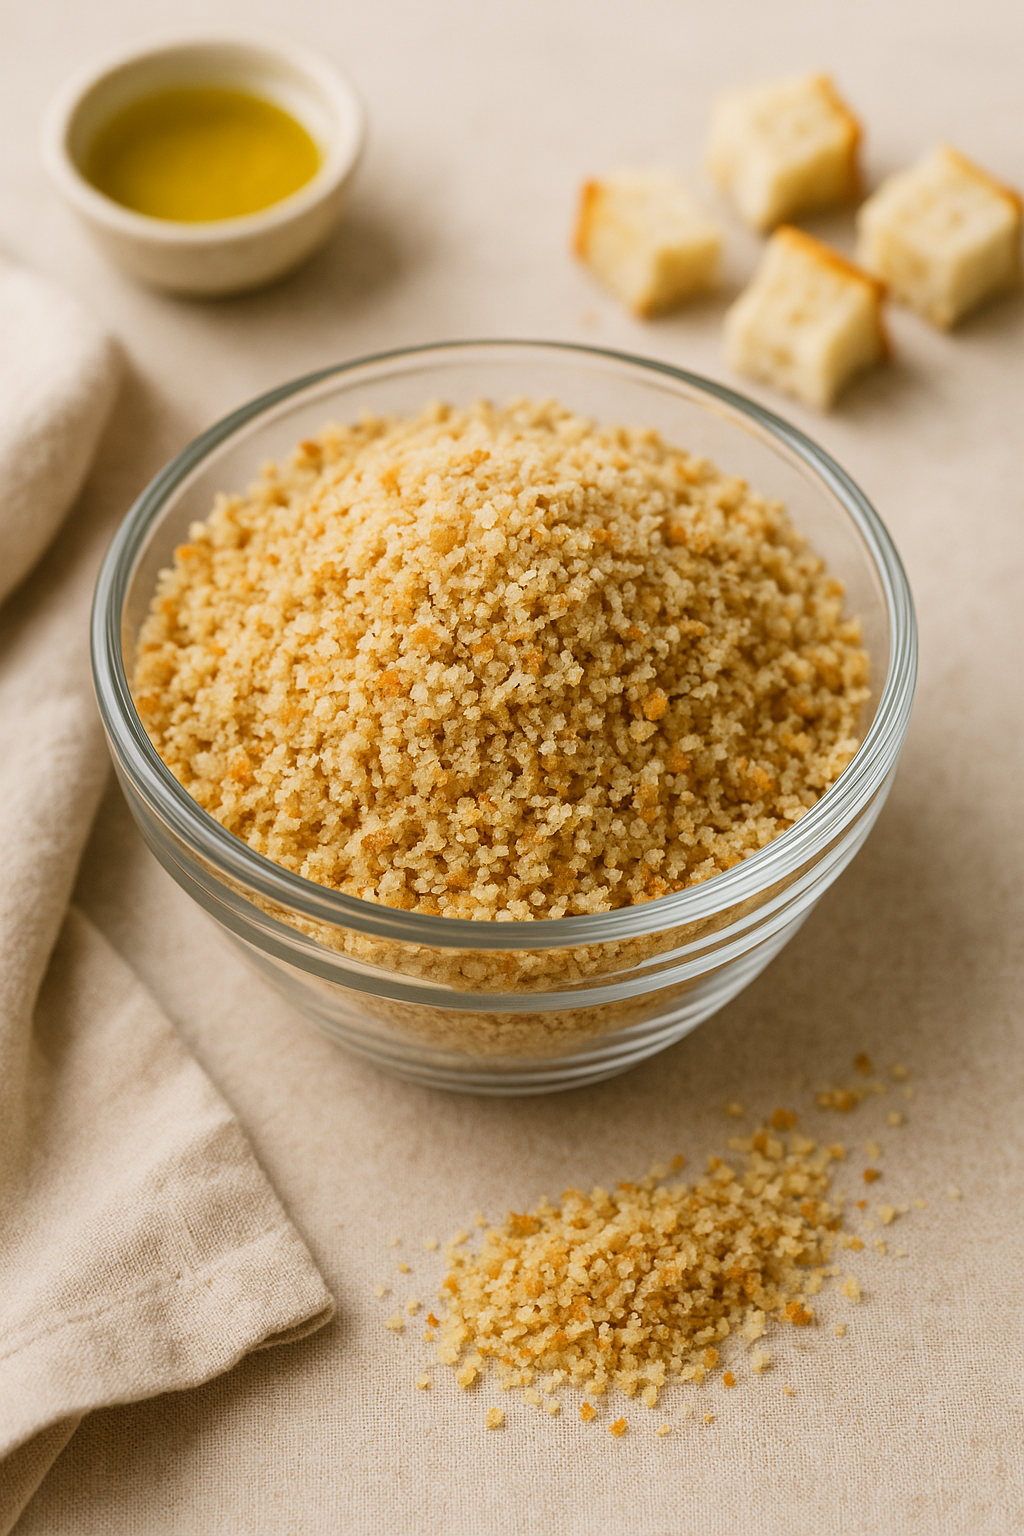
Ingredients:
- 4 cups gluten free bread, cut into 1-inch cubes
- 1 tablespoon olive oil
- ¼ teaspoon kosher salt
How to Make Gluten Free Bread Crumbs (Step by Step)
1. Preheat the oven
Set to 300°F (150°C). Low heat helps the bread dry out fully without burning.
2. Toss the bread cubes
Place the cubes on a baking sheet. Drizzle with olive oil and sprinkle with salt. Toss gently to coat.
3. Toast
Spread in an even layer and bake for 20–30 minutes, stirring once halfway.
You want the bread dry, crisp, and lightly golden.
4. Cool completely
This is important, warm bread creates steam inside the container and makes crumbs soggy.
5. Blend into crumbs
Pulse in a food processor:
- 3–4 pulses = chunky, panko-style crumbs
- 10–12 pulses = fine crumbs
6. Store
Keep in an airtight jar.
Tips for Perfect, Crispy Gluten Free Bread Crumbs
- Make sure the bread is fully dry, any softness will make the crumbs mushy.
- Cool before blending, warm bread will create clumps.
- Use stale bread when possible, it dries faster and browns better.
- Toast longer for “panko-style” crunch, slightly darker = crispier.
Variations
Panko-Style Gluten Free Bread Crumbs
Pulse less and keep bigger flakes for frying.
Seasoned Italian Crumbs
Add:
- 1 tsp garlic powder
- 1 tsp dried oregano
- ½ tsp dried basil
Extra-Crispy Herb Crumbs
Add 1 tablespoon melted butter + parsley after blending.
How to Store & Freeze
- Room temperature: 1 week in an airtight jar
- Refrigerator: 1 month
- Freezer: up to 3 months
To revive frozen crumbs, toast 3–4 minutes on a dry pan.
FAQ
Are bread crumbs gluten free?
Only if they are made with gluten free bread. Regular bread crumbs contain wheat.
Can I use stale bread?
Yes, stale gluten free bread works beautifully and dries out faster.
Can I make these oil free?
Yes, simply skip the olive oil. The flavor will still be great but slightly less golden.
Serving Ideas
Use these gluten free bread crumbs for:
- Breaded chicken or fish
- Topping baked pasta
- Crunchy meatballs
- Crispy vegetable casseroles
- Adding texture to salads
See more gluten free baking :
Gluten Free Buns | Soft, Fluffy & Ready in 45 Minutes
Gluten Free Puff Pastry Recipe | Buttery, Flaky Layers Made Simple
Soft & Easy Gluten Free Bread Recipe | 7 Simple Steps
Recipe Special Notes
- Dryness is everything: The bread must be fully dried in the oven before blending. Even a little moisture will make the crumbs soft or clumpy.
- Cool completely: Warm bread creates steam inside the container, which leads to soggy crumbs. Let it cool fully before pulsing.
- Choose your texture:
- Pulse lightly for panko-style, larger flakes.
- Pulse longer for classic fine breadcrumbs.
- Any gluten-free bread works: Use fresh, stale, homemade, or store-bought gluten-free bread. Stale bread dries out faster and gives a crispier crumb.
- Season as you wish: Keep it plain or add garlic powder, Italian herbs, paprika, or dried parsley for flavored variations.
- Storage tip: Store in an airtight jar. If crumbs soften over time, revive them by toasting 2–3 minutes in a dry pan.
- Freezer-friendly: These gluten-free bread crumbs freeze beautifully and stay crisp for months.
Conclusion
Making your own gluten free bread crumbs is one of those small kitchen moments that feels surprisingly empowering. With just a few simple steps, leftover bread transforms into something golden, crunchy, and incredibly useful, a jar of flavor and texture you can reach for all week long. Whether you’re topping a cozy casserole, adding crunch to salads, or preparing a crisp breaded chicken, these homemade crumbs bring that perfect finishing touch.
Keep a batch on hand, refresh your freezer stash anytime, and enjoy the ease of knowing you can create something beautiful and reliable whenever you need it. Simple, homemade, gluten free, exactly the way we like it.