There’s something magical about the smell of crescent rolls baking, that buttery aroma, those golden layers, that soft, warm bite.
If you’ve missed that since going gluten free, you’re not alone.
Many gluten free breads turn out dense or crumbly, leaving you longing for that light, tender texture you grew up with.
But today, you’re getting it back, no weird ingredients, no dry dough, no disappointment.
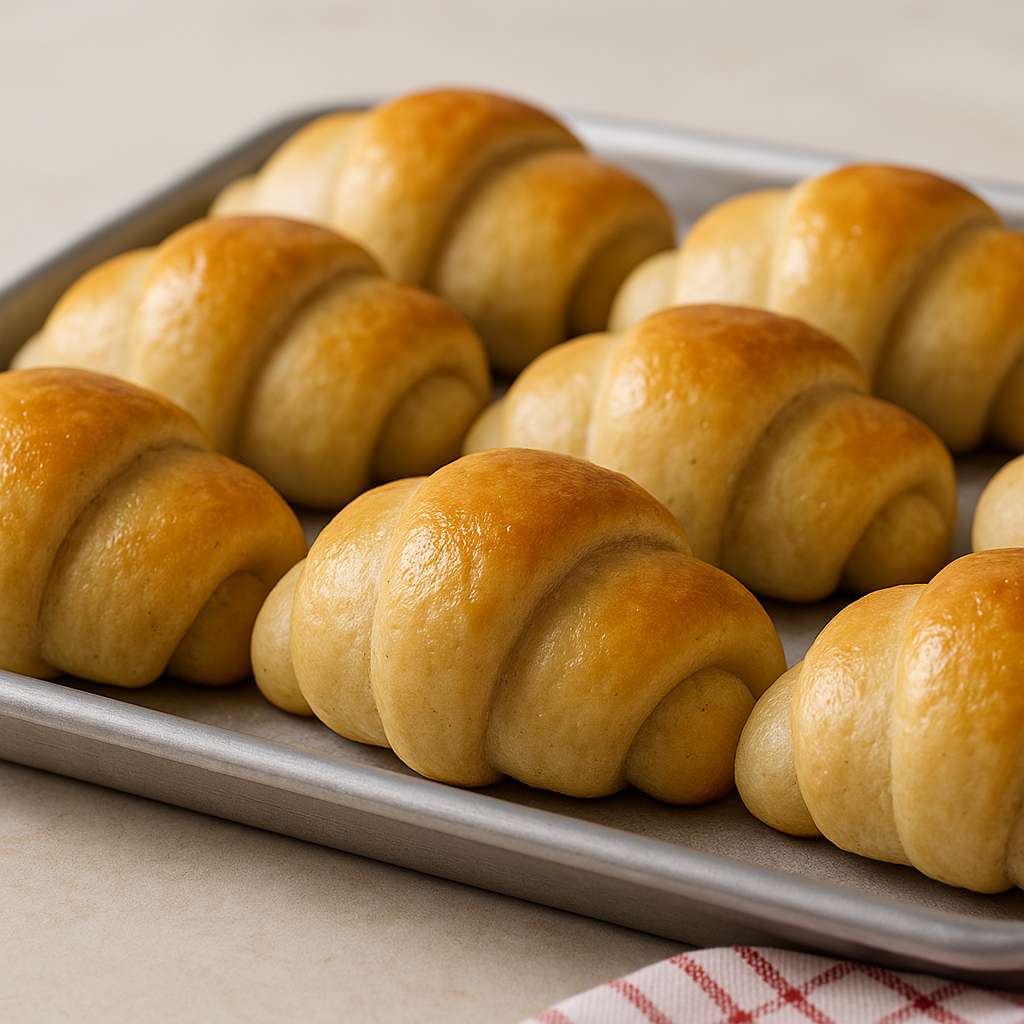
These gluten free crescent rolls are soft, golden, and every bit as delicious as the originals.

Why You’ll Love These Gluten Free Crescent Rolls
- Buttery, soft, and layered, not dry or crumbly.
- Dough that’s easy to handle with just one proof.
- Made from wholesome, simple ingredients.
- Beautiful enough for holidays, easy enough for everyday.
- 100% gluten free comfort, right from your own oven.
Key Ingredients & The Science Behind Them
Psyllium Husk Gel, Think of this as your gluten replacement. It traps moisture and gives the dough flexibility, helping your rolls stay soft and tearable.
Millet & Sorghum Flour, These whole-grain flours create that slightly nutty, bakery style flavor and a tender, light crumb.
Tapioca Starch, Adds just enough chew and elasticity for a real “bread feel.”
Butter & Milk, Bring richness, golden color, and that irresistible aroma. (For dairy free, see variation notes below.)
Xanthan Gum, A small but mighty binder that helps your dough hold shape as it rises.
Pro Tip: Don’t skip the psyllium gel, it’s your dough’s secret to staying soft and smooth, not sticky or stiff.

Step by Step Instructions (with Pro Tips)
1. Make the Psyllium Gel
In a small bowl, whisk psyllium husk with warm water. Let it sit 30–45 seconds until thick and jelly like.
2. Mix the Dry Ingredients
In your stand mixer bowl, whisk together tapioca starch, millet flour, sorghum flour, sugar, instant yeast, baking powder, xanthan gum, and salt.
If using active dry yeast, activate it first in warm milk with half the sugar, then add it later with wet ingredients.
3. Combine Everything
Make a well in the center. Add the psyllium gel, warm milk, egg, and melted butter.
Mix until smooth and knead for 5 minutes (stand mixer) or 8–10 minutes by hand.
The dough should feel soft and slightly sticky, that’s perfect.
If it’s too sticky, chill it for 1 hour to firm it up before shaping.

4. Shape the Crescent Rolls
Lightly flour your surface.
Form the dough into a ball and roll it into a 35 cm (14-inch) circle.
Cut into 12 equal wedges using a pizza cutter.
Roll each wedge from the wide end to the tip to form that classic crescent shape.
Place them on a greased or parchment-lined baking sheet.
Photo Tip: Arrange crescents neatly in a 9×13-inch pan so they touch slightly when baked, it gives them that beautiful pull apart look.
5. Proof the Rolls
Cover lightly with plastic wrap and let them proof for 1 hour 15–30 minutes, until doubled in size.
For a chilly kitchen, place them in a lukewarm oven (around 26°C / 79°F) with a cup of hot water for humidity.
6. Bake Until Golden
Preheat oven to 180°C (350°F).
Brush the rolls with egg wash, then bake for 15–16 minutes or until golden brown.
Right out of the oven, brush them generously with melted butter.
This keeps the crust soft and gives that glossy, bakery finish.

Chef’s Tips for Perfect Results
- Chill the dough if sticky, it becomes easier to roll.
- Avoid adding extra flour (it makes rolls dense).
- Brush with butter right after baking to lock in softness.
- Proof in a warm, humid spot for the fluffiest texture.
- Serve warm for the full, buttery experience.
Recipe Variations
Dairy Free:
Use vegan butter and plant milk (like oat or almond).
Sweet Version:
Brush the tops with honey butter or sprinkle sugar before baking.
Savory Version:
Add garlic butter, herbs, or cheese inside before rolling for flavorful party crescents.

Storage & Reheating
Best enjoyed fresh and warm, but you can:
- Store in an airtight container up to 3 days.
- Reheat for 15–20 seconds in the microwave, or a few minutes in the oven. They’ll taste freshly baked again!
Frequently Asked Questions
Can I make these gluten free crescent rolls ahead?
Yes! Shape and refrigerate overnight, then proof and bake the next day.
Can I freeze them?
Absolutely. Freeze baked rolls, thaw, and reheat to serve.
My dough is sticky, what should I do?
Chill it for 1 hour. Gluten-free dough improves as the flours hydrate.
What’s the best flour blend?
A mix of millet, sorghum, and tapioca gives the best balance of flavor and structure.

See more Gluten free recipes :
Gluten Free Brownie Recipe (Rich, Fudgy & Easy!)
Gluten Free Peanut Butter Cookies in 20 Min | Soft & Chewy
Gluten Free Cheesecake | Easy, Creamy & Classic Recipe
5-Step Gluten Free Pecan Pie Recipe| Easy, Gooey & Delicious
Conclusion
There’s something special about pulling a tray of golden, buttery crescent rolls out of your own oven, especially when they’re gluten free and every bit as soft as the real thing. These rolls are proof that comfort food doesn’t have to be complicated or filled with strange ingredients. Just simple, honest baking that feels good to make and even better to share.
Serve them warm, let the butter melt, and enjoy that familiar, nostalgic bite. the one you thought you’d never taste again.
If you make these gluten free crescent rolls, let me know how they turn out! I love hearing your stories and seeing your photos, tag @GfSnack so I can cheer you on.