If you’ve ever tried making gluten free lemon bars that turned out grainy, gummy, or with a crust that fell apart… you’re not alone. Many gluten free desserts don’t deliver the classic taste people remember. These gluten free lemon bars change everything, bright, creamy, tangy, and with a buttery shortbread crust that actually holds together. They taste just like the nostalgic lemon bars many people miss, but completely gluten free and safe for sensitive tummies.

Why You’ll Love These Gluten Free Lemon Bars
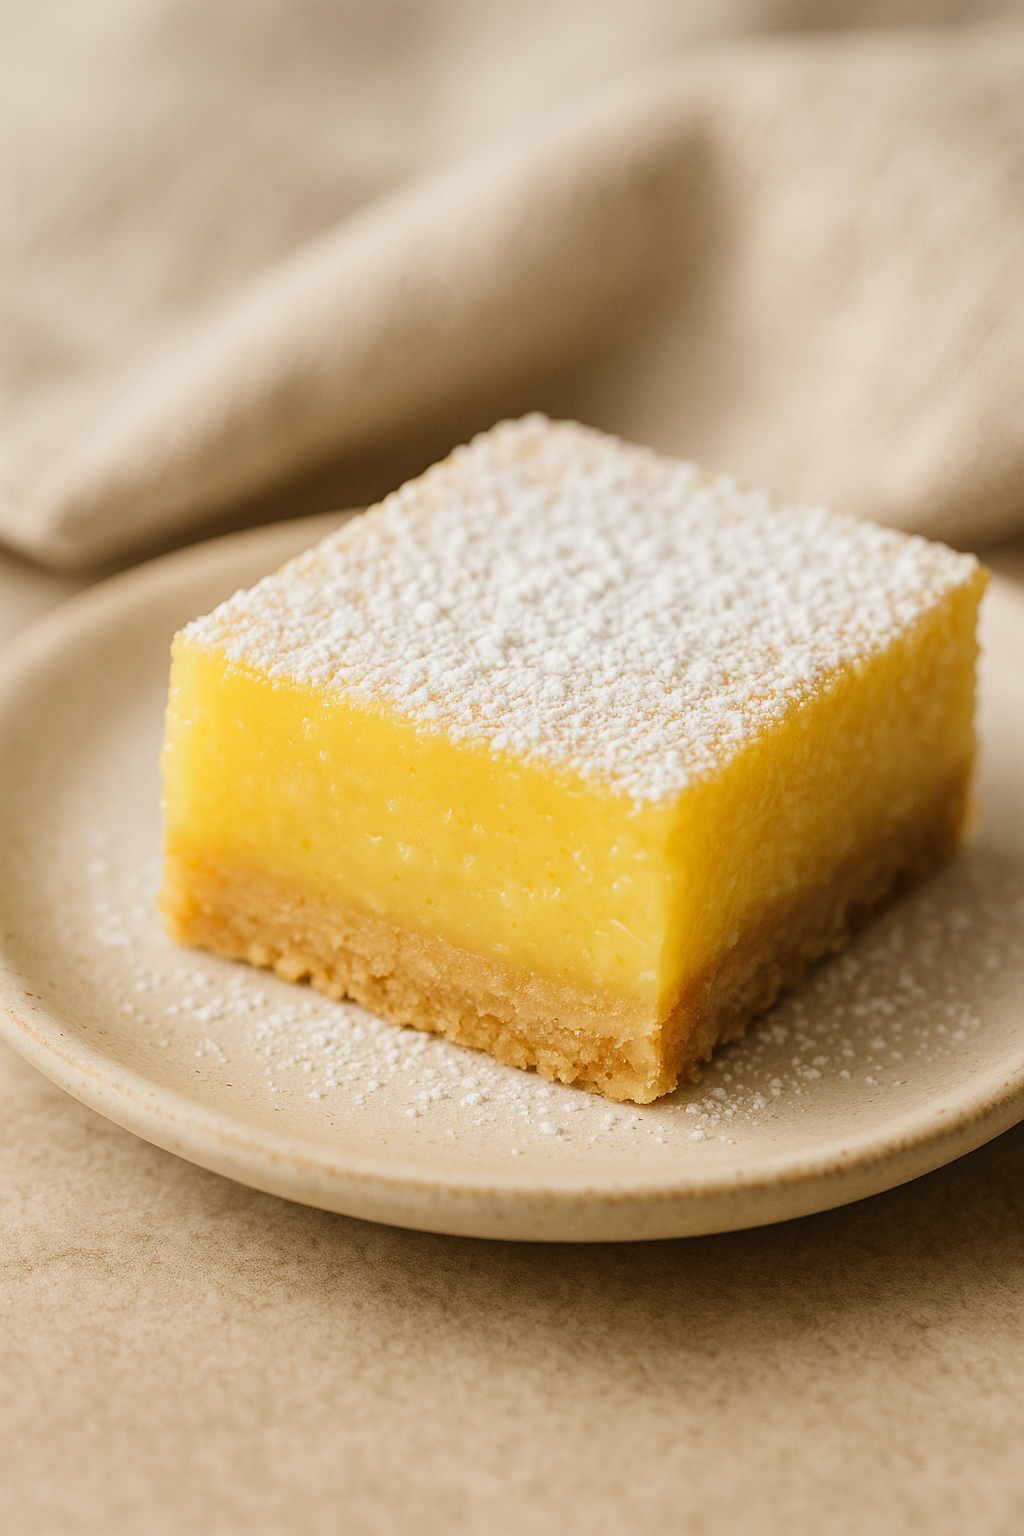
- A buttery, sturdy shortbread crust that never crumbles
- A creamy, bright lemon filling with real fresh lemon juice
- No grainy texture, smooth and silky
- Uses simple pantry ingredients
- Dairy free friendly
- Perfect for gatherings, potlucks, holidays, or a cozy afternoon treat
- Cuts cleanly into beautiful squares with a dusting of sugar
- A gluten free version that truly tastes like the classic
Key Ingredients & The Science Behind Them
Gluten Free Flour (with xanthan gum)
Using a blend with xanthan gum helps the crust hold together like regular shortbread, no crumbling, no mess.
Melted Butter
Creamy fat binds the crust and creates that melt in your mouth texture. Dairy free butter works beautifully too.
Fresh Lemon Juice
Bottled lemon juice tastes flat. Fresh lemons give brightness and perfect acidity.
Eggs
They create the custard style lemon layer. Using all six eggs ensures the filling sets properly.
Sugar
Balances tartness and helps the filling thicken. The final bars are tangy, not overly sweet.
Vanilla Extract
Adds warmth and depth to the lemon, a small detail that makes a big difference.

Step by Step Instructions
1. Make the Crust
Mix melted butter, sugar, vanilla, salt, and gluten free flour.
Press firmly into a lined 9×13-inch pan.
Pro Tip:
Use the bottom of a glass to press the crust evenly. This prevents cracking.
Bake at 350°F (175°C) for 18–20 minutes until lightly golden.
2. Whisk the Lemon Filling
In a bowl, whisk eggs + sugar until smooth.
Add lemon juice and vanilla.
Whisk in flour until just combined, don’t overmix.
Pro Tip:
Overmixing adds air bubbles, which causes cracks.
3. Bake the Lemon Bars
Pour filling over the warm crust.
Bake for 20–25 minutes, or until the center looks set but slightly jiggly.
Don’t overbake.
The bars finish setting as they cool.
4. Cool & Dust
Cool completely before slicing.
Dust with powdered sugar right before serving.
Pro Tip:
Refrigerating the bars for 1 hour gives perfect, clean cuts.
Chef’s Tips for Perfect Results
- Bake the crust before adding the filling, prevents sogginess
- Always use fresh lemons for the best flavor
- Let bars cool fully before cutting
- Use a glass or ceramic pan to avoid metallic taste
- For sharper edges, wipe your knife between each cut
Recipe Variations
Dairy Free
Use dairy free butter, texture stays perfect.
Less Sweet Version
Reduce sugar in filling to 1½ cups.
Extra Tangy Bars
Add 1 extra tablespoon of lemon zest.
Nut Free
Already naturally nut free!
Storage & Freezing Instructions
- Fridge: Store in an airtight container for up to 5 days.
- Freezer: Freeze cut bars for up to 3 months. Thaw in the fridge for best texture.
- Make Ahead: Bake 1–2 days in advance and dust with sugar just before serving.
Frequently Asked Questions
Are lemon bars gluten-free?
Traditional ones aren’t, the crust uses wheat flour. This recipe is fully gluten free.
Why is my crust crumbly?
Your flour blend may not contain xanthan gum. Always use a GF blend with binders.
Can I reduce the sugar?
Yes, up to 25% less sugar works well.
Why did my lemon bars crack?
Usually from overmixing or overbaking.
Serving Suggestions
These lemon bars pair beautifully with:
- Fresh berries
- Whipped coconut cream
- A warm cup of tea on a cozy afternoon
- Your other GF Snack desserts (lemon loaf, brownies, cookies)
See more gluten free desserts you will like :
Gluten Free Brownie Recipe (Rich, Fudgy & Easy!)
Gluten Free Cornbread | Golden, Moist & Comforting
Gluten Free Peanut Butter Cookies in 20 Min | Soft & Chewy
Gluten Free Pumpkin Snickerdoodles | Easy (10 Min Prep)
Recipe Special Notes
- Use a GF flour blend with xanthan gum This helps the crust bind and prevents crumbling. Without it, the shortbread may fall apart.
- Fresh lemon juice makes all the difference Bottled juice tastes dull and can affect the texture. Freshly squeezed lemons give the bars a bright, clean flavor.
- Avoid metal bowls and pans for the filling Lemon reacts with metal and can create a metallic taste. Use glass or ceramic for mixing and baking.
- Don’t overmix the filling After adding the flour, mix only until combined. Overmixing traps air and can cause cracks on top.
- Bake until just set The center should have a slight jiggle. Overbaking results in a rubbery or dry filling.
- Cool completely before slicing This gives the filling time to firm up and ensures clean, neat squares.
- Dust with powdered sugar right before serving If you dust too early, the sugar will dissolve into the lemon layer.
- Refrigerating before cutting gives perfect edges Chill the bars for 45–60 minutes for picture-perfect slices.
- For extra lemon flavor Add 1–2 teaspoons of finely grated lemon zest to the filling.
- Dairy free friendly Use a high quality dairy free butter, the crust will still be tender and delicious.
Conclusion
These gluten-free lemon bars are the kind of recipe that brings comfort back to the kitchen, bright, tangy, and beautifully simple. With a soft custard filling, a sturdy shortbread crust, and clean, refreshing flavor, they’re the perfect reminder that gluten free baking can be just as delicious as the classics we grew up with.
Whether you’re making them for a celebration, sharing them with loved ones, or enjoying a quiet homemade treat, these bars are meant to bring joy to your table. Take your time, enjoy the process, and be proud of what you create, you made something beautiful.