If you’ve ever missed the smell of warm bread filling your kitchen, this gluten free bread recipe will bring that comfort back.
No complicated methods or endless kneading, just a simple, soft loaf that slices beautifully and actually tastes like real bread.
This recipe was designed for beginners who’ve tried gluten free bread before and felt disappointed by the dry, crumbly results.
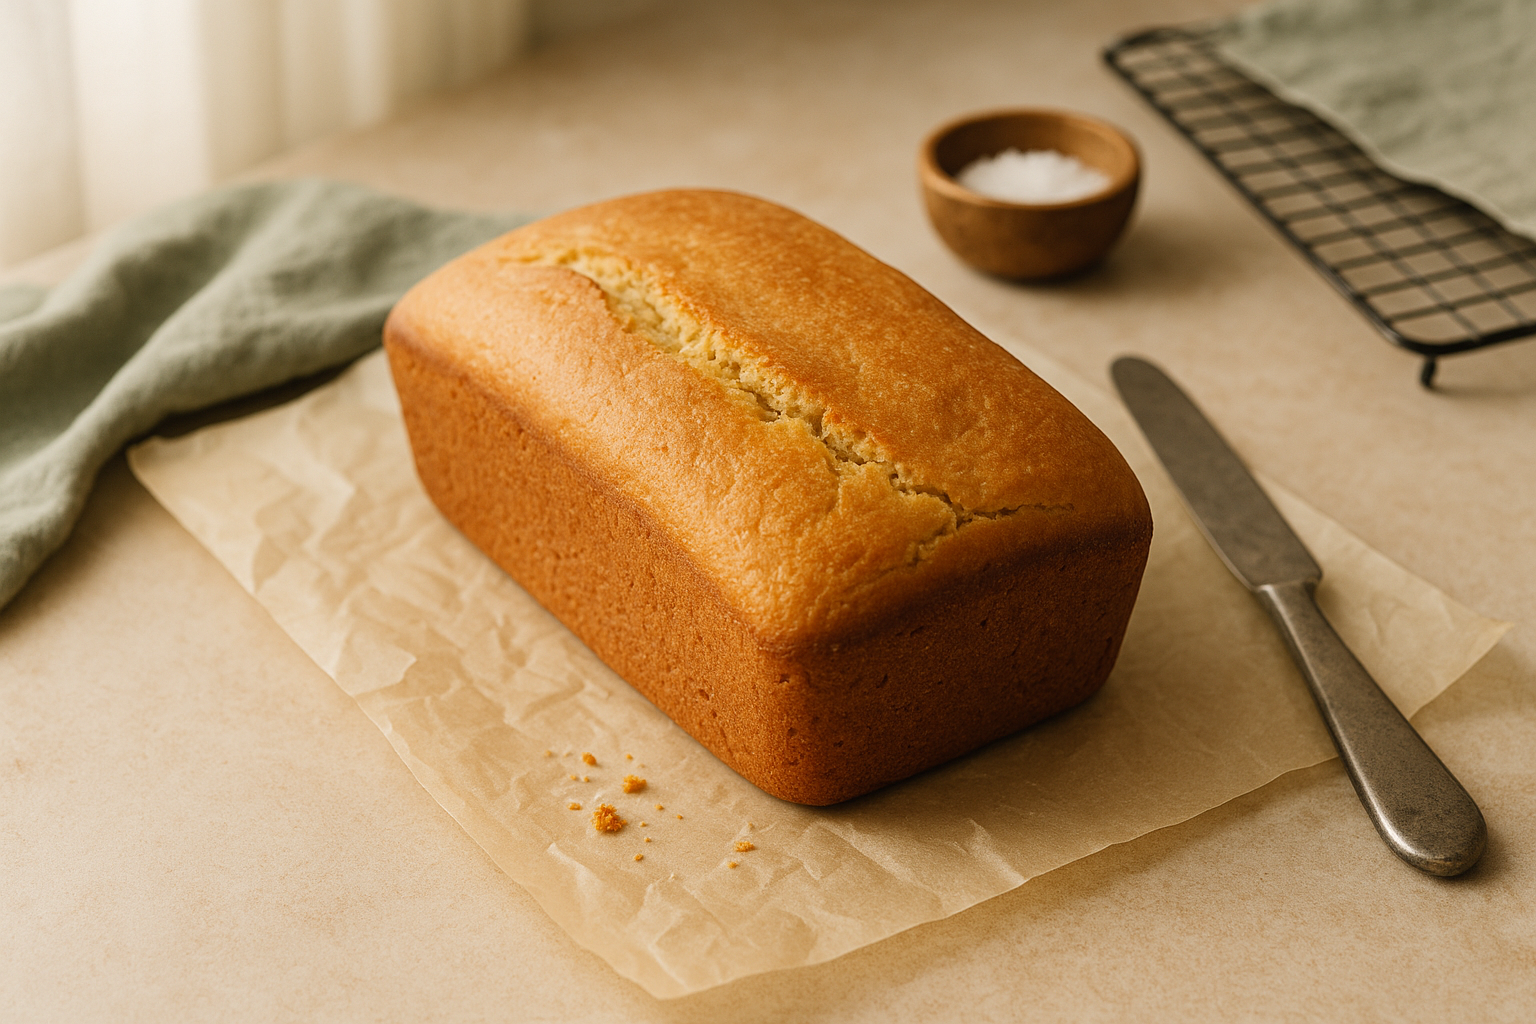
Here, you’ll make a loaf that’s fluffy inside, golden outside, and perfectly balanced.
We’ll use Bob’s Red Mill 1:1 Gluten-Free Flour, a touch of apple cider vinegar for lift, and your favorite KitchenAid mixer (or even a hand whisk) to make it effortless.

Why You’ll Love This Gluten Free Bread
- Soft, fluffy texture, no dry crumbs.
- 100% gluten-free with simple ingredients.
- No fancy bread machine or kneading needed.
- Great for sandwiches, toast, or even French toast.
- Freezes beautifully for future meals.
Key Ingredients & The Science Behind Them
- 1:1 Gluten-Free Flour Blend: Provides the right mix of rice flour, starches, and xanthan gum to mimic wheat structure. (Bob’s Red Mill 1:1 Baking Flour is reliable.)
- Instant Yeast: Helps the dough rise quickly and evenly.
- Egg Whites: Bind and create structure while keeping the crumb tender.
- Apple Cider Vinegar: Activates the yeast for a better rise and a softer texture.
- Butter or Olive Oil: Adds richness and keeps the crust golden.
- Warm Milk: Creates moisture and helps the yeast bloom.
Tip: Use a digital kitchen scale like OXO for accuracy, a small measurement difference can affect texture in gluten-free baking.
Step by Step Instructions, 7 Simple Steps
Ingredients
- 420 g gluten-free 1:1 flour blend (about 3 cups)
- 8 g instant yeast (2½ tsp)
- 25 g granulated sugar (2 tbsp)
- 12 g salt (2 tsp)
- 360 ml warm milk (1½ cups, about 95°F)
- 56 g melted butter or olive oil (4 tbsp)
- 1 tsp apple cider vinegar
- 2 large egg whites (about 50 g)
(Optional: sesame seeds for topping)
Step by Step Instructions, 7 Simple Steps (Detailed Version)
1. Prep Your Pan
Lightly grease a 9×5-inch loaf pan with a thin layer of butter or oil.
For easier removal, line it with a sheet of parchment paper that extends slightly over the sides, this creates little “handles” to lift the loaf out once baked.
Make sure the parchment lies flat against the corners so the dough rises evenly.
(If you prefer a softer crust, grease only; parchment gives a slightly crisper edge.)
2. Mix the Dry Ingredients
In a large mixing bowl (or the bowl of your stand mixer), add:
- 420 g gluten-free 1:1 flour blend
- 8 g instant yeast
- 25 g granulated sugar
- 12 g salt
Whisk the dry ingredients together for 30–60 seconds to evenly distribute everything.
This step ensures the yeast and salt don’t sit together directly, salt can slow yeast activity if added unevenly.
You’ll see a soft, pale mix with a few tiny air pockets, that’s good aeration for your dough base.
3. Add the Wet Ingredients
Pour in your warm milk (about 95°F / 35°C), not hot, just comfortably warm to the touch, followed by melted butter or olive oil, apple cider vinegar, and egg whites.
The milk activates the yeast, the vinegar adds lift, and the butter enriches the crumb.
If you’re using a stand mixer, use the paddle attachment. If mixing by hand, grab a sturdy spatula or wooden spoon.
4. Mix Until Smooth
Beat or stir the mixture for 2–3 full minutes on medium speed.
At first, the dough will look thick, wet, and a bit rough, resist the urge to add more flour.
Gluten-free bread dough isn’t kneaded like regular dough; it should resemble a thick, sticky batter rather than a firm ball.
As you mix, it will start to smooth out, looking slightly whipped and glossy.
Scrape down the sides halfway through to ensure no dry flour remains.
Chef’s Tip:
Don’t panic if your dough feels looser than expected, that’s exactly what makes it soft after baking. Extra moisture = tender crumb.
5. Shape and Rise
Use a spatula to transfer the dough into your prepared pan.
Wet the spatula slightly (or your fingers) and gently smooth the top, this helps shape the loaf neatly and prevents cracks.
Cover loosely with lightly oiled plastic wrap or a clean damp towel.
Place it in a warm, draft-free spot (like an unheated oven with the light on) for 40–45 minutes, or until the dough rises by about 50%.
It won’t double like wheat dough, but you’ll notice it puffing up and doming slightly on top, that’s your cue it’s ready.
If it starts forming cracks or small bubbles on top, it’s close to over-proofed, so bake soon.
6. Bake
Preheat your oven to 375°F (190°C) during the last 10 minutes of rising time.
Once ready, gently remove the plastic wrap and place the pan in the center of the oven.
Bake for 45–55 minutes, or until the crust turns a rich golden-brown and the loaf sounds slightly hollow when tapped.
For accuracy, check the internal temperature, it should read 205°F (96°C) on an instant-read thermometer.
If the top browns too quickly, loosely tent it with foil halfway through baking.
When done, the kitchen will smell buttery and slightly sweet, that’s your sign of a perfect bake.
7. Cool Completely
Remove the bread from the oven and let it rest in the pan for about 10 minutes, this helps the structure set and makes it easier to lift out.
Carefully transfer the loaf to a wire cooling rack using the parchment handles.
Let it cool fully for at least 1 hour before slicing.
This final rest allows the steam to escape and gives the crumb its soft, sliceable texture.
Pro Tip:
Cutting warm bread releases moisture and can make the texture gummy, patience pays off here!

Chef’s Tips for Perfect Results
- If your bread sinks slightly after baking, it may have over-proofed, next time, shorten the rise.
- Don’t slice too early! Cooling fully prevents gumminess.
- Brush the top with butter after baking for a shiny, soft crust.
- For a rustic twist, sprinkle sesame or sunflower seeds before baking.
Ingredient Substitutions
- Dairy Free: Use vegan butter (like Melt or Miyoko’s Kitchen) and plant milk (oat or almond).
- Egg Free: Replace the egg whites with 1 chia egg (1 tbsp ground chia + 3 tbsp warm water, mixed and gelled).
- No Xanthan Gum: If your flour blend doesn’t contain it, add 1 tbsp psyllium husk powder hydrated in warm milk before mixing.
Storage & Freezing
- Store at room temperature for up to 2 days, wrapped tightly.
- Refrigerate for up to 5 days (reheat before serving).
- Freeze for up to 2 months. Slice before freezing for easy single-toast reheating.
Frequently Asked Questions (FAQ)
Why did my gluten free bread sink in the middle?
It probably over-proofed or was too moist. Next time, shorten the rise and measure liquids carefully.
Can I make this without eggs or dairy?
Yes, just follow the chia egg and vegan butter swaps above.
Why is my bread dense?
Gluten-free dough needs more air; be sure to mix for at least 2–3 minutes and use instant yeast.
Can I bake it in an air fryer?
Yes! Bake at 320°F (160°C) for about 30 minutes, check halfway through.
Recipe Special Notes
This gluten-free dough will look and feel different from regular bread dough, it’s meant to be softer and stickier, so avoid adding extra flour. For best results, weigh your ingredients using a kitchen scale and make sure your milk is warm (not hot) to activate the yeast gently. Let the bread cool completely before slicing; this step helps the texture stay soft and sliceable.
If you prefer a dairy-free version, use vegan butter and any unsweetened plant milk such as oat, soy, or almond. For an egg-free loaf, a chia egg works beautifully (1 tablespoon ground chia seeds mixed with 3 tablespoons warm water). To keep the crust shiny and soft, brush the top with a little melted butter as soon as it comes out of the oven.
For long-lasting freshness, store your loaf tightly wrapped at room temperature for up to two days, or freeze individual slices for quick toasting anytime.
See more Gluten Free Baking Recipes :
Gluten Free Bagels Recipe | Soft, Chewy & Golden
Gluten Free Sourdough Bread Recipe (Step by Step Guide)
Gluten Free Biscuits (Easy Recipe with Simple Ingredients)
Gluten Free Carrot Cake (Moist, Classic & Easy)
Conclusion
And there you have it, a simple, beautiful gluten free bread that’s soft, golden, and full of homemade comfort. Every slice holds together perfectly, ready for butter, jam, or your favorite sandwich fillings.
What makes this loaf special isn’t just that it’s gluten free, it’s that it brings back the simple joy of baking bread you can truly enjoy and share. Take a moment to admire your work, breathe in that warm, buttery aroma, and remember: you made this from scratch, and it’s perfect just as it is.
Bake it again next weekend, experiment with seeds or herbs, and make it your own. Because at Gf Snack, gluten-free baking isn’t about missing out, it’s about rediscovering comfort, one loaf at a time.