The Heartbreak of the “Sinking” Loaf I’ll never forget the frustration of my early gluten free baking days. I would watch my Gluten Free Banana Bread through the oven door, seeing it rise perfectly, feeling like a pro, only to pull it out and watch the center collapse into a gummy, sad crater as it cooled. I spent so much money on expensive ingredients only to end up with a “sunken” loaf that was raw in the middle and burnt on the edges.
I almost gave up on ever having a “real” slice of Gluten Free Banana Bread again. But after dozens of test batches, I realized that the “sink” wasn’t my fault, it was the science.
The “No-Collapse” Breakthrough I finally cracked the code to a stable, skyscraper high gluten free loaf. The secret is a precise balance of moisture (from those over ripe bananas) and structural “heft” (from my oat-flour blend). This recipe delivers a tender, velvety crumb that holds its shape from the oven to the cooling rack.
No weird flours, no sunken centers, just the best moist Gluten Free Banana Bread you’ve ever tasted. Whether you load it with chocolate chips or keep it classic, this recipe is your “redemption loaf.” I promise you’ll never have to apologize for a sunken cake again.

Why This is the “No-Fail” Gluten Free Banana Bread You’ve Been Looking For
- The “Anti-Sink” Texture: Forget those loaves that collapse the minute they hit the cooling rack. This recipe is engineered for a stable, high-domed rise that stays moist and fluffy without ever becoming gummy or crumbly.
- No “Specialty Flour” Required: You won’t need to spend $15 on a bag of flour you’ll only use once. We use basic pantry staples and common 1-to-1 blends (like Pillsbury or King Arthur) to get professional results on a budget.
- The “Stealth” Dairy-Free Base: In the US, many GF families are also dairy-free. This recipe is naturally dairy-free friendly, using oil instead of butter to create a richer, silkier crumb that stays fresh longer than butter-based breads.
- Endless “Mix-In” Options: This batter is incredibly stable, meaning your chocolate chips or walnuts won’t sink to the bottom. Whether you want a decadent dessert loaf or a healthy morning slice, it holds up to every customization.
- Meal-Prep Magic: This is the ultimate “Busy Morning” hack. It’s 100% freezer-friendly—slice the loaf before freezing, and you can pop a single piece in the toaster for a warm, “fresh-baked” taste in under 2 minutes.
Ingredients You’ll Need For Gluten Free Banana Bread :
- 1 ½ cups (350 g) mashed ripe bananas – about 3–4 medium
- ¾ cup (175 g) packed light brown sugar – or coconut sugar
- 3 tbsp pure maple syrup
- ¼ cup (55 g) mild oil – vegetable, canola, or melted coconut oil
- 2 large eggs – room temperature
- 1 tsp vanilla extract
- ¼ cup (60 g) canned full-fat coconut milk – or plain yogurt
- 1 ¼ cups (195 g) Bob’s Red Mill 1-to-1 Gluten Free Baking Flour
- ½ cup (50 g) gluten free rolled oats – whole or ground
- 1 tsp baking powder
- ½ tsp baking soda
- ¼ tsp salt
- ½ tsp cinnamon
- 1 banana for topping (optional)
- 1 cup semisweet chocolate chips (optional)
How to Bake the Ultimate “High-Rise” Gluten Free Banana Bread
Step 1: Prep the “Launchpad”
Preheat your oven to 350°F (175°C). Grease or line a 9×5-inch loaf pan with parchment paper.
- The “Sling” Method: Leave a little parchment overhang on the sides. This “sling” lets you lift the bread out without stressing the structure, preventing it from breaking or collapsing.
Step 2: The “Liquid Gold” Mix
In a large bowl, mash your bananas until smooth. Whisk in the sugar, maple syrup, oil, eggs, vanilla, and coconut milk.
- Pro-Tip for Moisture: Ensure your eggs and coconut milk are at room temperature. Cold ingredients can cause the oil to seize, which leads to that “gummy” layer at the bottom of the loaf.
Step 3: The “Anti-Sink” Folding
Add your dry ingredients: flour, oats, baking powder, baking soda, salt, and cinnamon. Gently fold with a spatula until just combined.
- The “No-Collapse” Rule: Stop stirring the second the flour streaks disappear! Over-mixing gluten-free batter can trap too much air, which causes the bread to puff up too fast and then sink in the center as soon as it hits the cool air.
Step 4: The Signature Topping
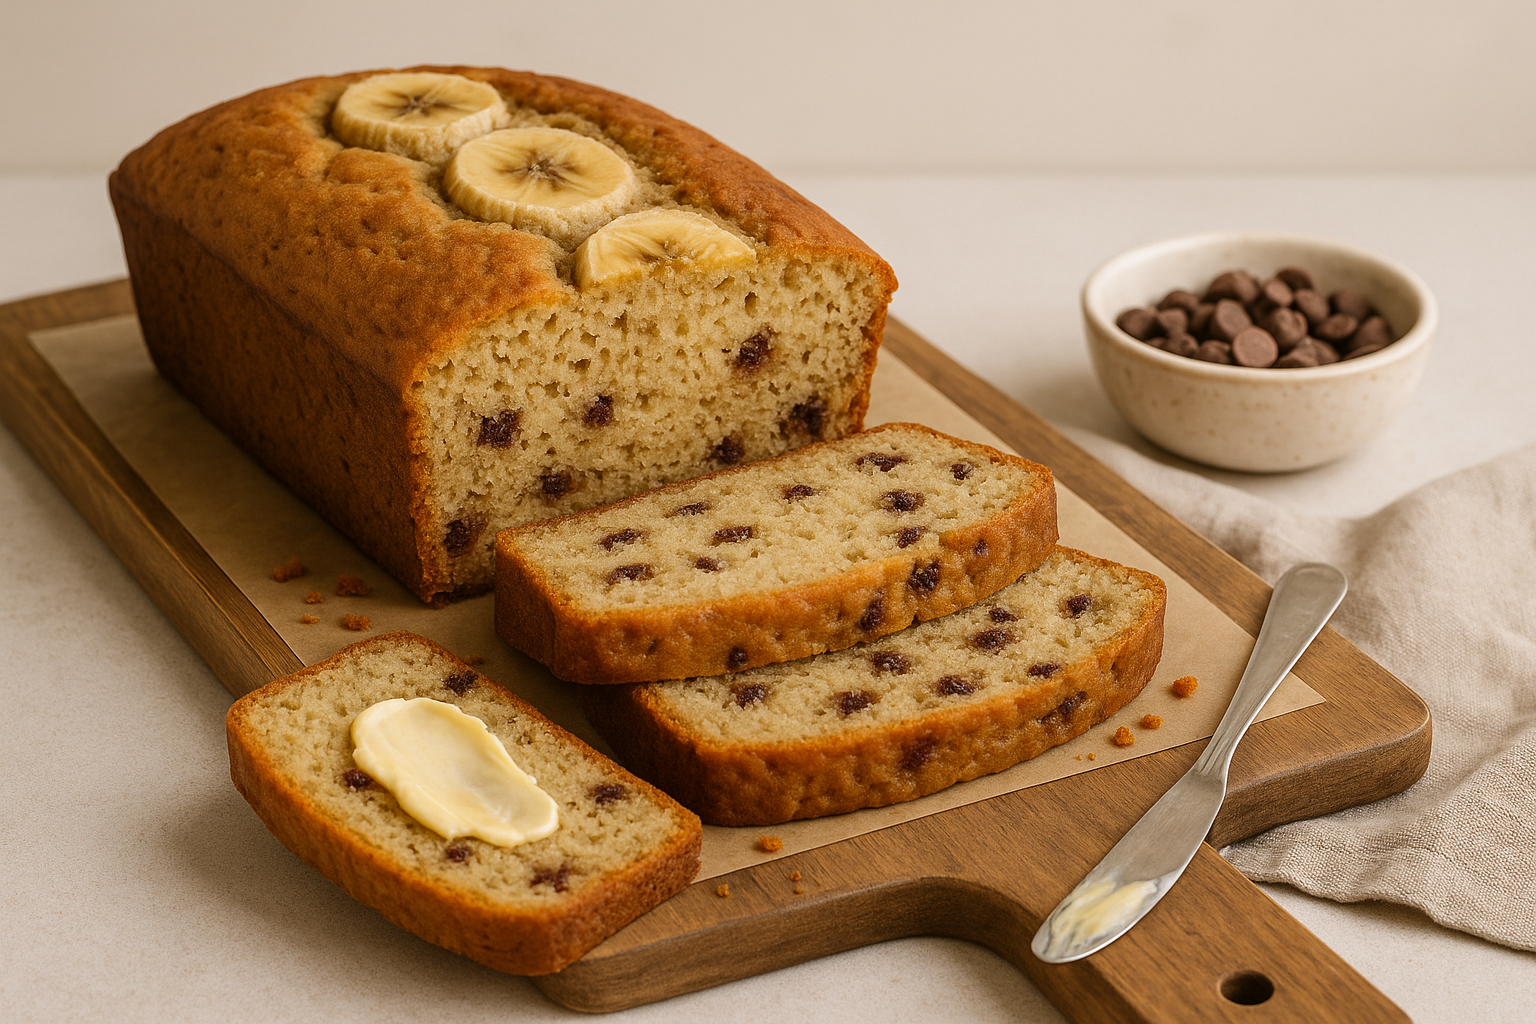
Pour the batter into the pan. If you’re feeling fancy, add thinly sliced banana halves on top.
- Expert Tip: Sprinkle a little extra cinnamon sugar on top of the sliced bananas for a “brulée” crunch that US bakeries are famous for!
Step 5: The “Low and Slow” Bake
Bake for 55–65 minutes.
- The Toothpick Test: Insert a toothpick into the very center. It should come out with a few moist crumbs. If it’s “wet,” give it another 5 minutes.
- The “Foil Tent” Hack: If the top is getting too dark but the middle is still shaky, loosely tent a piece of aluminum foil over the pan for the last 15 minutes. This saves the crust while the center finishes.
Step 6: The “Patience” Period
Cool in the pan for 10 minutes before moving to a wire rack.
Why it matters: Gluten-free bread is still “setting” its structure while it cools. If you move it too early, the steam escapes too fast, and, you guessed it, the center will sink!

FAQs About Gluten Free Banana Bread
Q: Can I freeze gluten free banana bread?
Yes! Slice it, wrap individually, and freeze up to 3 months.
Q: Can I use almond flour instead?
Almond flour alone won’t work here . it’s too heavy. Stick with a gluten free flour blend or try half and half with oat flour.
Q: How do I keep banana bread moist?
Use very ripe bananas, coconut milk/yogurt, and don’t overbake.
More baking recipes :
- Gluten Free Bagels Recipe
- Gluten Free Lemon Cake
- Gluten Free Chocolate Banana Bread (Moist, Easy & Chocolatey)
Notes: The Secrets to Gluten Free Banana Bread Mastery
1. The “Blacker the Better” Rule
When it comes to bananas, “ripe” isn’t enough. You want bananas that are covered in brown spots or are almost entirely black.
- The Benefit: As bananas over-ripen, their starches turn into sugar. This is the secret to a naturally sweet gluten free loaf that doesn’t taste like flour. If your bananas are still yellow, your bread will be bland and starchy.
2. The “Oat Hydration” Secret
Because we are using oats and gluten free flour, the batter needs a moment to breathe.
- Real Experience: Once you pour the batter into the pan, let it sit on the counter for 5 to 10 minutes before sliding it into the oven. This allows the oats to hydrate, which prevents that “gritty” texture and helps create a more stable, skyscraper-high rise that won’t sink.
3. Choosing Your Oats
In the USA, not all oats are safe for everyone.
- The Authority Tip: Always use Certified Gluten Free Rolled Oats. While oats are naturally GF, they are often cross-contaminated in US processing plants. If you’re baking for a Celiac audience, this is a non-negotiable detail for their safety.
4. How to Store for “Day 3” Freshness
Gluten-free bread is notorious for drying out, but this loaf is different.
- The Strategy: Do not store this in the fridge, it will dry out the crumb! Instead, wrap it tightly in plastic wrap or store it in an airtight container at room temperature for up to 3 days.
- The “Gourmet” Reheat: On day three, slice it and sear it in a pan with a little butter. It caramelizes the edges and makes it taste better than the day it was baked!
Storing & Freezing Instructions
- Store covered at room temperature for 2–3 days.
- Refrigerate up to 1 week.
- Freeze slices for up to 3 months and reheat in the toaster or microwave.
Baker’s Secrets: How to Avoid the “Gummy” Loaf
I’ve learned the hard way that gluten free baking requires a little more patience and strategy than traditional wheat breads. Follow these three rules to ensure your loaf is a skyscraper of flavor every time:
- The “Black Peel” Rule for Natural Sweetness: Don’t even think about using yellow bananas! For that deep, caramelized bakery flavor, you want bananas that are covered in brown spots or almost entirely black.
- Real Experience Tip: As bananas ripen, their starches convert to sugar. This is the “secret” to a moist, naturally sweet loaf that doesn’t need extra refined sugar to taste amazing.
- The “Gentle Fold” (Anti-Density Hack): Gluten-free flours and oats can become heavy and “rubbery” if you work them too much.
- The Secret: Use a spatula to fold the dry ingredients into the wet just until the white streaks of flour disappear. Overmixing traps tiny air bubbles that expand too fast in the oven and then collapse, leaving you with a dense, sunken center.
- The “Patience” Window: I know your kitchen smells like heaven right now, but do not slice that bread yet! * Why it matters: Gluten-free starches are still “setting” their structure even after the bread is out of the oven. If you slice it while it’s steaming hot, the moisture will escape too fast, and the center will feel gummy or wet. Give it at least 30 to 60 minutes on a wire rack—it’s the difference between a “bready” texture and a “soggy” one.
Final Bite
This Gluten Free Banana Bread is soft, moist, and deliciously comforting , perfect for breakfast, snacks, or dessert. No one will believe it’s gluten free!
If you bake this recipe, don’t forget to leave a comment below and tag me on social media. I love seeing your creations!